VCF Lab Constructor also known as VLC, is a tool that can automate the deployment of a nested VCF lab. VLC will deploy a VCF environment with minimal resources. A single physical server with 12 cores, 128GB RAM and 800GB SSD is needed to deploy a VCF lab. Using SAS disks instead of SSD disks may cause timeouts during the deployment. Even though the deployment is like next next finish, it could be difficult to setup the required services. VCF 4.0.1 includes the following versions of software components:
| Software Component | Version | Date | Build Number |
|---|---|---|---|
| Cloud Builder VM | 4.0.1.0 | 25 JUN 2020 | 16428904 |
| SDDC Manager | 4.0.1.0 | 25 JUN 2020 | 16428904 |
| VMware vCenter Server Appliance | 7.0.0b | 23 JUN 2020 | 16386292 |
| VMware ESXi | 7.0b | 23 JUN 2020 | 16324942 |
| VMware vSAN | 7.0b | 23 JUN 2020 | 16324942 |
| VMware NSX-T Data Center | 3.0.1 | 23 JUN 2020 | 16404613 |
| VMware vRealize Suite Lifecycle Manager | 8.1 Patch 1 | 21 MAY 2020 | 16256499 |
More information about VCF 4.0.1 can be found on over here.
VLC deployment methods
VLC gives you the option to choose between 2 deployment methods, an automated and a manual method. The cloud builder appliance will provide the required services like DNS, DHCP, NTP and BGP routing when you choose for method 1 (automated). When you choose for method 2 (manual), you need to provide your own DNS, DHCP, NTP and BGP routing services.
In this blog post, I will show you how to deploy a VCF lab with VLC using method 2 (manual). For method 1, you can follow the already existing VLC deployment guide. The deployment guide also explain deployment method 2, but it doesn't explain how to create the required services. With this post, I will not show you how to configure the required services, but I will share my configurations so that you can use it in your own lab.
Requirements
- VMware Cloud Builder 4.0.1.0 16428904 ova file. (You can download this in the vExpert portal and from a VMUG advantage subscription.)
- Licenses for ESXI, vSAN, NSX and vCenter. (As a vExpert you will have access to NFR licenses or you can get them out of your VMUG advantage subscription)
- VLC (Download url)
- Router that supports BGP and VLANs
- DNS/DHCP server
- NTP server
- A single physical server with 12 cores, 128GB RAM and 800GB SSD
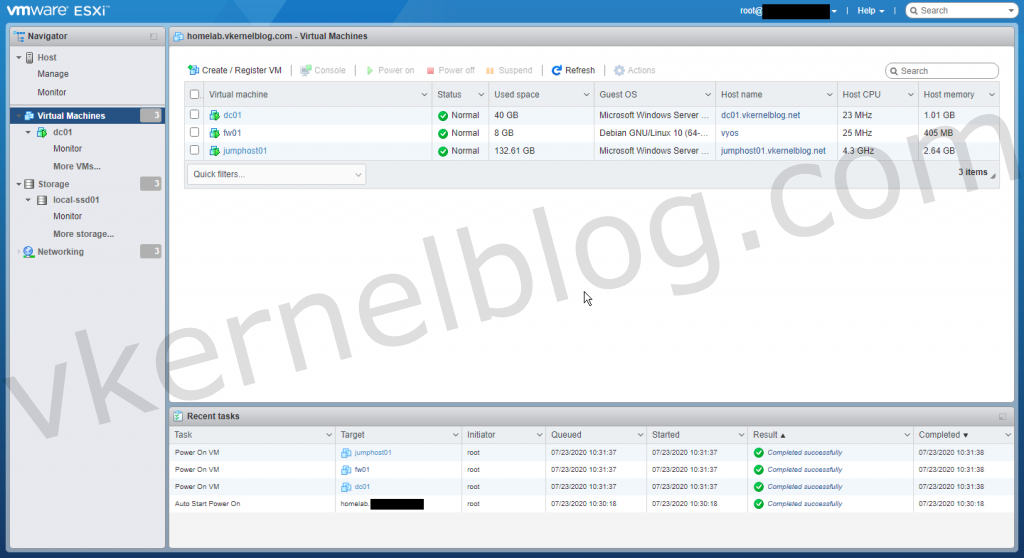
In the picture below, you see 3 virtual machines that are required for the VLC deployment. Virtual machine dc01 provide the DNS/DHCP services and fw01 provide VLAN networks, NTP and BGP routing. The jumphost01 will be used to access the management network that resides in VLAN 10.
Before we start, I copied the default JSON file with AVN Automated_AVN_VCF_VLAN_10-13_NOLIC_v401.json as CUSTOM-AVN.json. In the custom JSON file, I will change the configurations like VLAN, IP addresses, IP gateways and licenses to match my home lab setup.
VLAN networks
In order to prepare the networks for management, vMotion, vSAN, NSX Edge UPLINKS and NSX Edge TEP, I needed to configure different VLANS to support those networks. The VLAN configurations can be configured based on the CUSTOM-AVN.json file we have copied earlier. In the output below, you can see my VLAN configuration on the vyos router/firewall.
vyos@vyos# show interfaces ethernet eth1 vif
 vif 4 {
     address 10.0.4.253/24
     description VMOTION
     mtu 9000
 }
 vif 6 {
     address 10.0.6.253/24
     description VXLAN
     mtu 9000
 }
 vif 8 {
     address 10.0.8.253/24
     description VSAN
     mtu 9000
 }
 vif 10 {
     address 10.0.10.253/24
     description MANAGEMENT
     mtu 1500
 }
 vif 11 {
     address 172.27.11.253/24
     description UPLINK01
     mtu 9000
 }
 vif 12 {
     address 172.27.12.253/24
     description UPLINK02
     mtu 9000
 }
 vif 13 {
     address 172.27.13.253/24
     description NSX_EDGE_TEP
     mtu 9000
 }
Prepare vSwitch to support nested ESXI
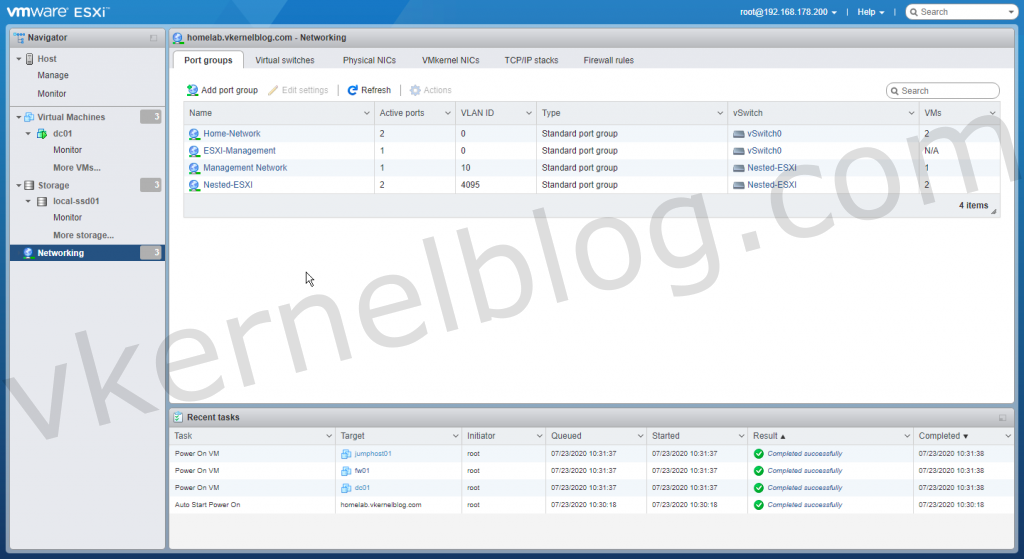
Create a new vSwitch with MTU size 9000. In my home lab, I have named the vSwitch Nested-ESXI. Create a portgroup and configure it to support trunk. I have named the portgroup Nested-ESXI. Configure VLAN 4095 (trunk) on the newly created portgroup as shown below. The vyos router/firewall will be connected with a second NIC in the Nested-ESXI portgroup to provide the VLAN networks. The newly created portgroup need to have the following security settings:
- Promiscuous Mode = Accept
- Allow Forged Transmits = Accept
- Allow MAC Address Changes = Accept
Note: Do not use inherit from vSwitch.
DNS/DHCP server
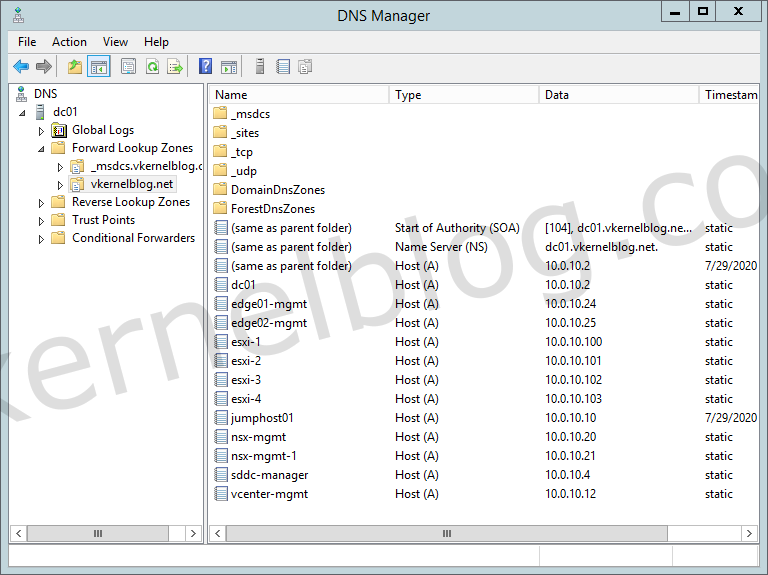
In my homelab, I already have a Microsoft server 2012R2 domain controller that I could use for the DNS and DHCP services. In the CUSTOM-AVN.json file, you can find the hostnames for the SDDC components. Create A-records and PTR records for the SDDC components with the subnet of your home lab. Here is an example of my home lab DNS server.
DHCP service is running on my domain controller in my test lab. I have added a DHCP scope that will be used for the VXLAN VMkernel ports. Configure the scope options to use the following options as shown in the picture below.
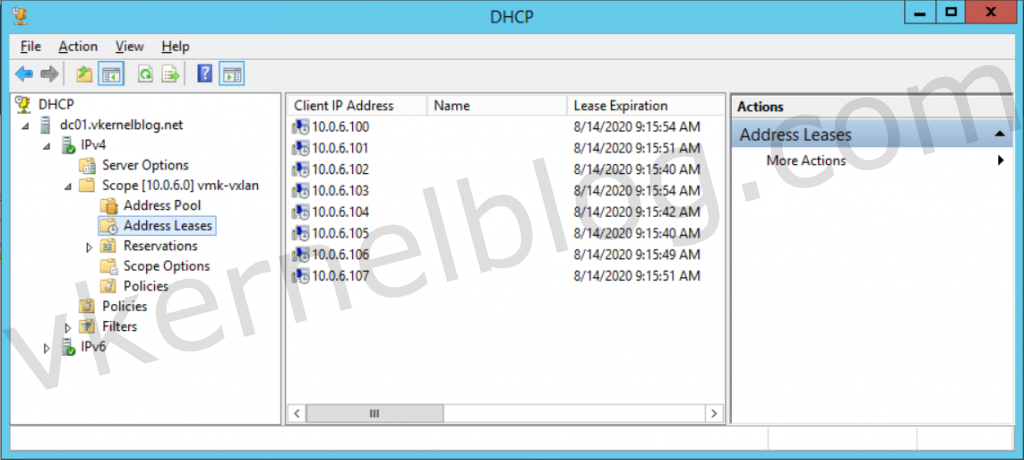
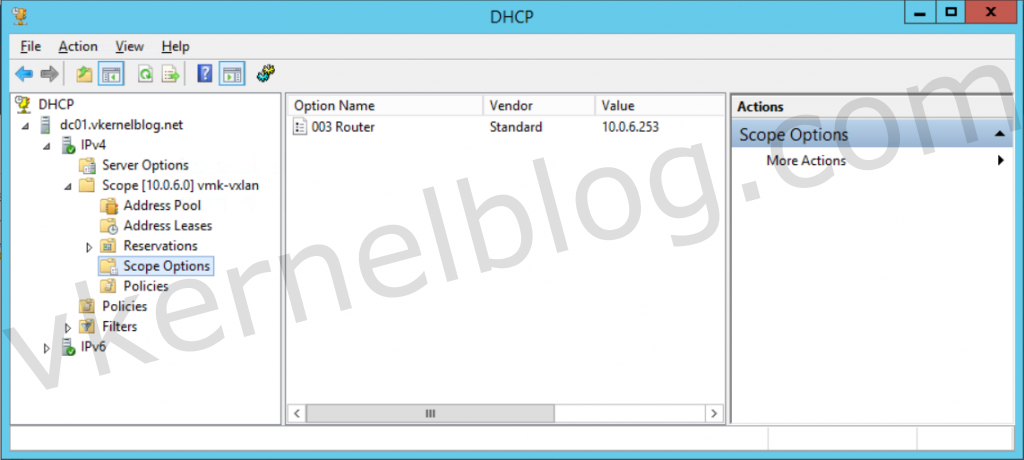
To be able to provide DHCP services to the ESXI hosts for the VTEP addresses, we need to configure a DHCP relay on the vyos router/firewall.
vyos@vyos# show service dhcp-relay
 interface eth1.6
 interface eth1.10
 relay-options {
     relay-agents-packets discard
 }
 server 10.0.10.2
NTP server
In my home lab I use a vyos router/firewall for the networking. I decided to configure a NTP server on the router so that the gateway can be used as a NTP server. Querying the NTP server (router) from a windows machine works fine without any issues. NTP works straight out of the box, I didn't even had to configure anything on the router/firewall. It is also an option to configure a NTP server on your domain controller. See this url on how to configure it.
The following query can be used to query the NTP server from a windows machine:
w32tm /stripchart /computer:10.0.10.253
BGP router
BGP routing will be done on the vyos router as well. As mentioned before, I am using a copy of one of the default JSON files. The only thing I changed for BGP in the JSON file is the gateway IP of those UPLINK subnets. To configure BGP routing on vyos according the default JSON file, I needed to configure the following BGP configurations on the router/firewall.
vyos@vyos# show protocols bgp
 bgp 65001 {
     address-family {
         ipv4-unicast {
             redistribute {
                 connected {
                 }
             }
         }
     }
     neighbor 172.27.11.2 {
         ebgp-multihop 2
         password VMware1!
         remote-as 65003
         update-source 172.27.11.253
     }
     neighbor 172.27.11.3 {
         ebgp-multihop 2
         password VMware1!
         remote-as 65003
         update-source 172.27.11.253
     }
     neighbor 172.27.12.2 {
         ebgp-multihop 2
         password VMware1!
         remote-as 65003
         update-source 172.27.12.253
     }
     neighbor 172.27.12.3 {
         ebgp-multihop 2
         password VMware1!
         remote-as 65003
         update-source 172.27.12.253
     }
 }
Deploying VCF with VLC
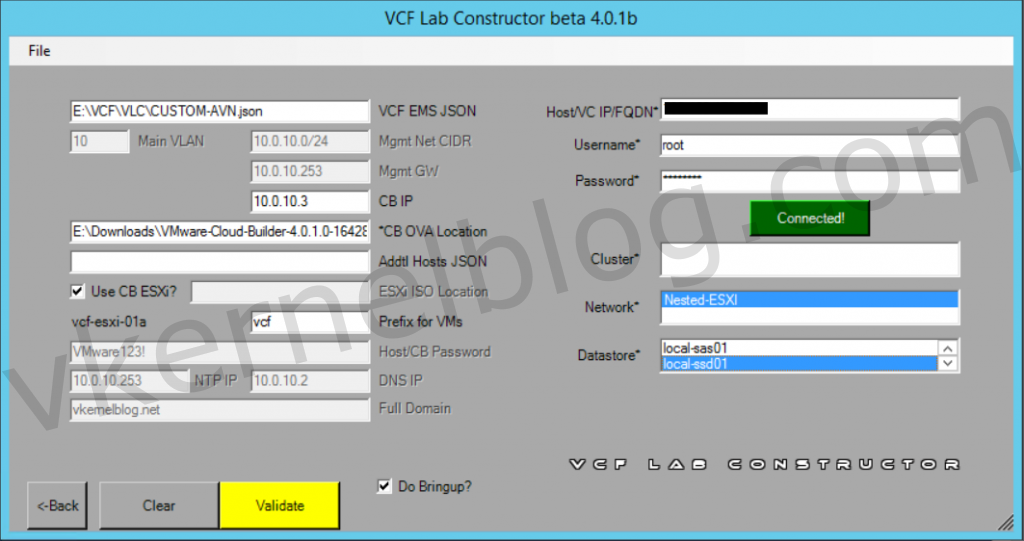
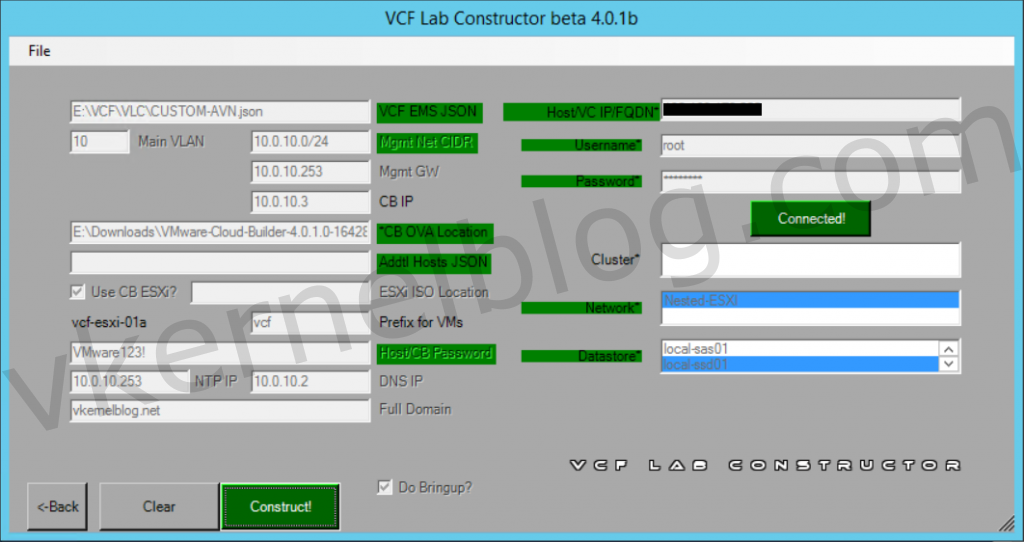
We are now done with the preparations and it's now time to start the deployment of VCF! Run VLCGUI.ps1 as administrator in Powershell. I have selected my CUSTOM-AVN.json file and most of the configurations will be populated in the fields. Give the Cloud Builder an available IP in the management VLAN. I have added vcf as prefix to separate VCF virtual machines on my physical ESXI host. In my case, I have selected the do bringup option to automatically perform the bring-up process in the cloud builder.
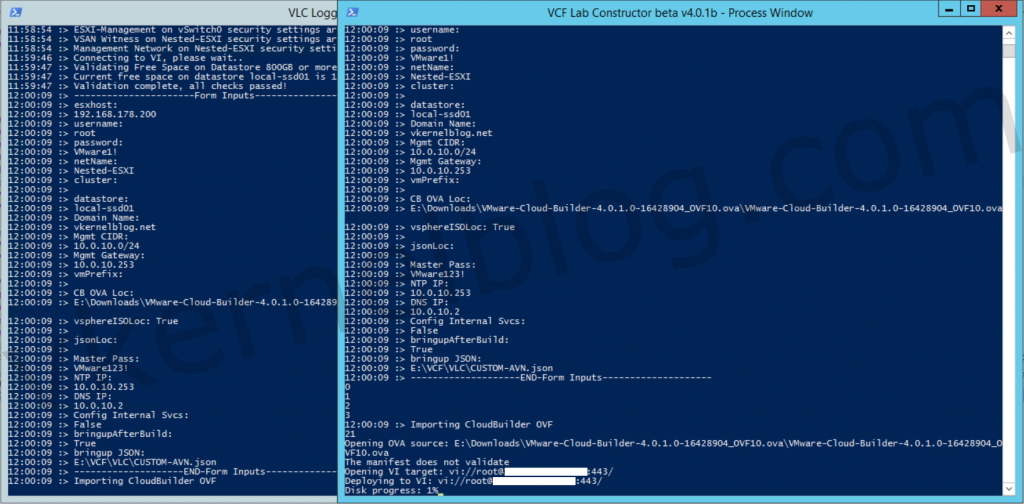
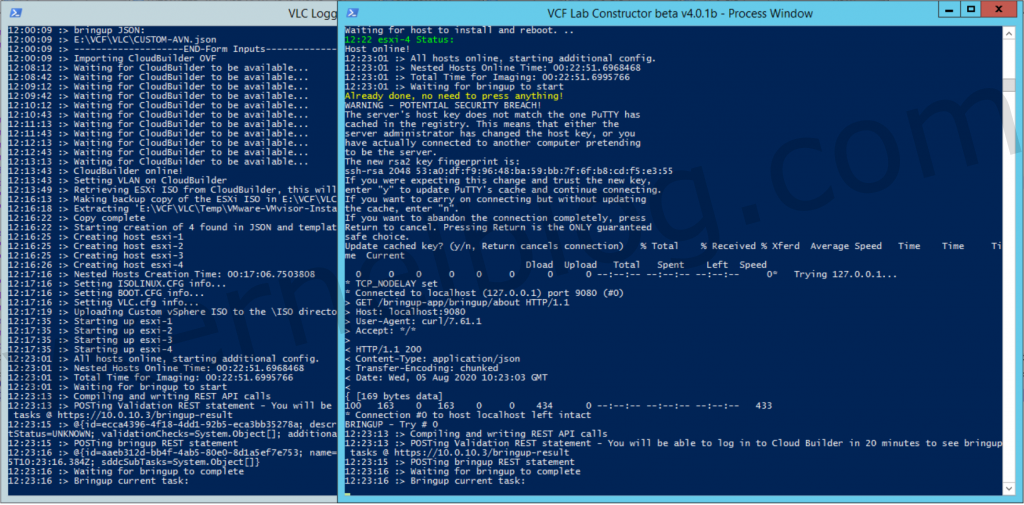
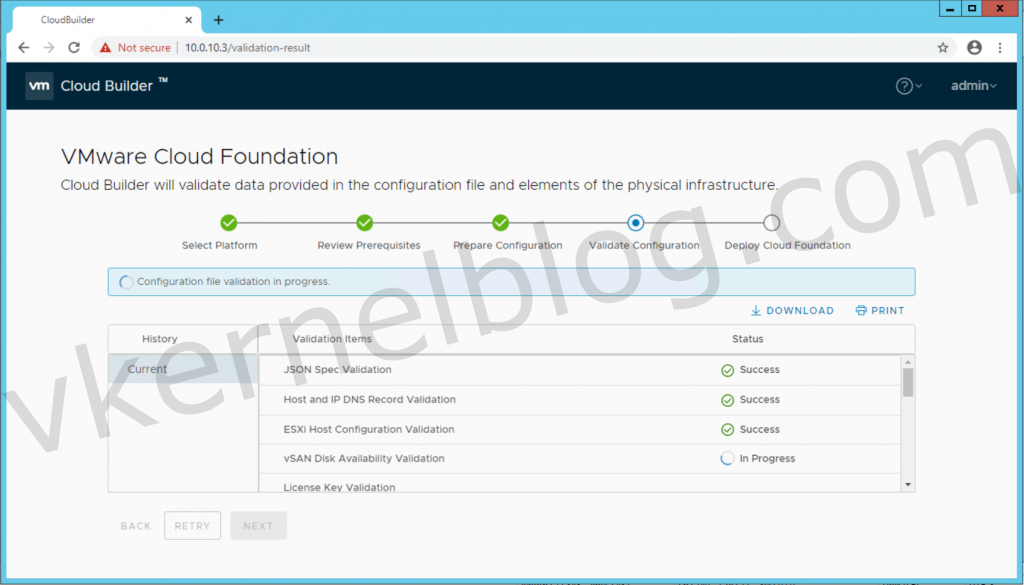
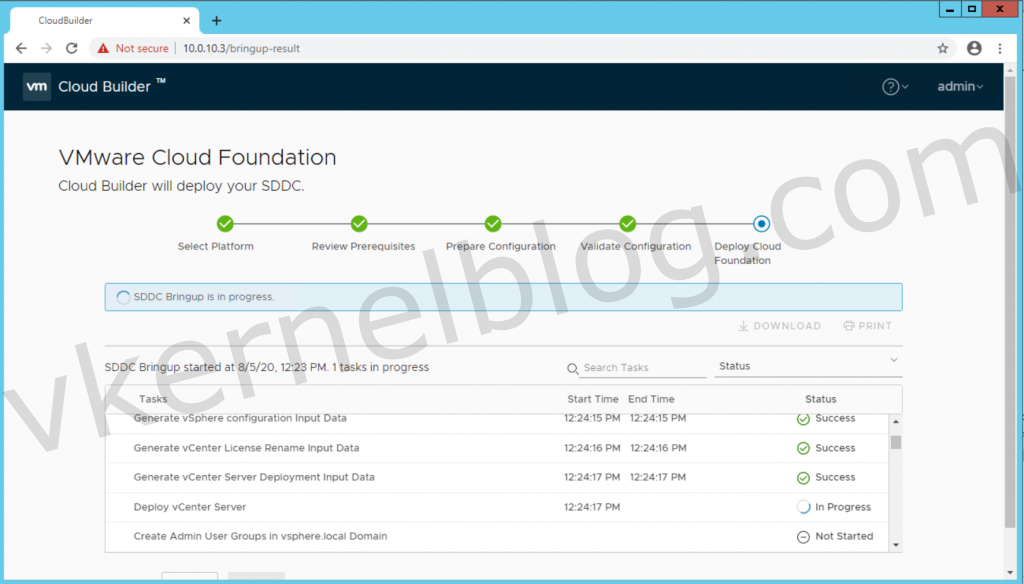
VLC will now be deploying the Cloud Builder appliance and after that the nested ESXI hosts. At some point you can access the Cloud Builder web GUI to see the validation of the configuration and the bring up process.
If you are quick enough, you can even see the validation results before the bringup process starts. Login with the default credentials from the CUSTOM-AVN.json file on the following url: https://cloudbuilderip/
The deployment can take an average of 3 hours and 30 minutes, depending on the physical hardware in your lab. It's now the perfect time for a long coffee break or a gym session.
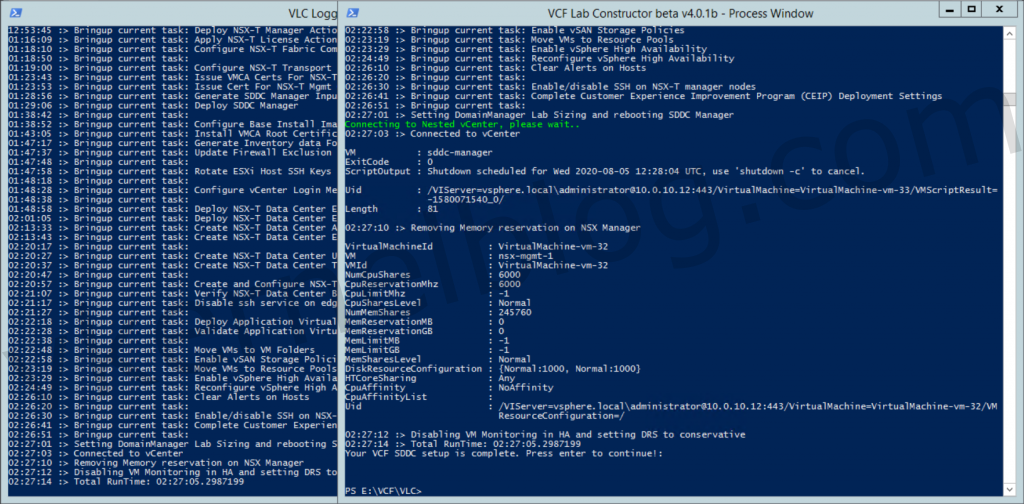
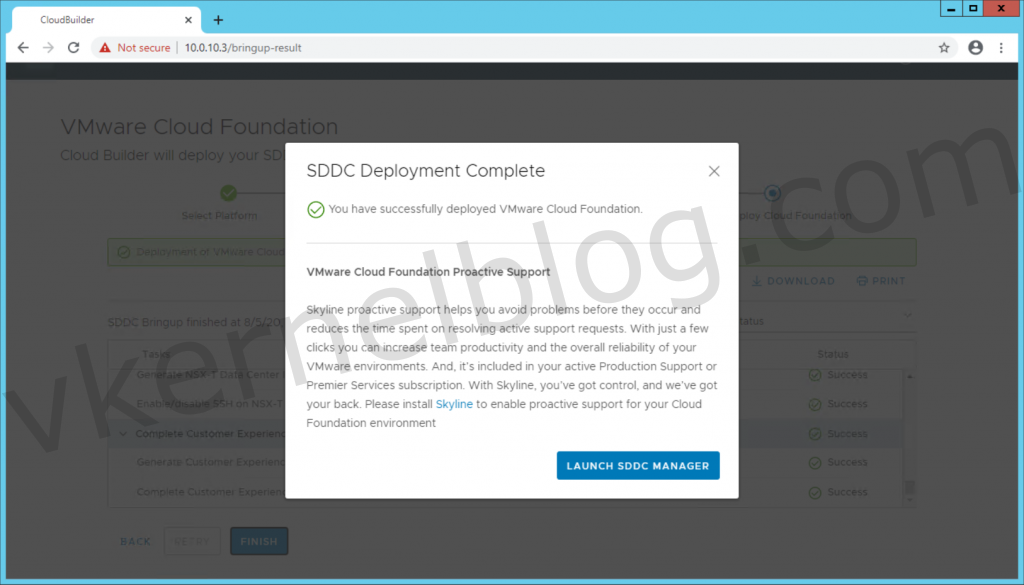
The VCF deployment took 2 hours and 27 minutes in my home lab.
Final words
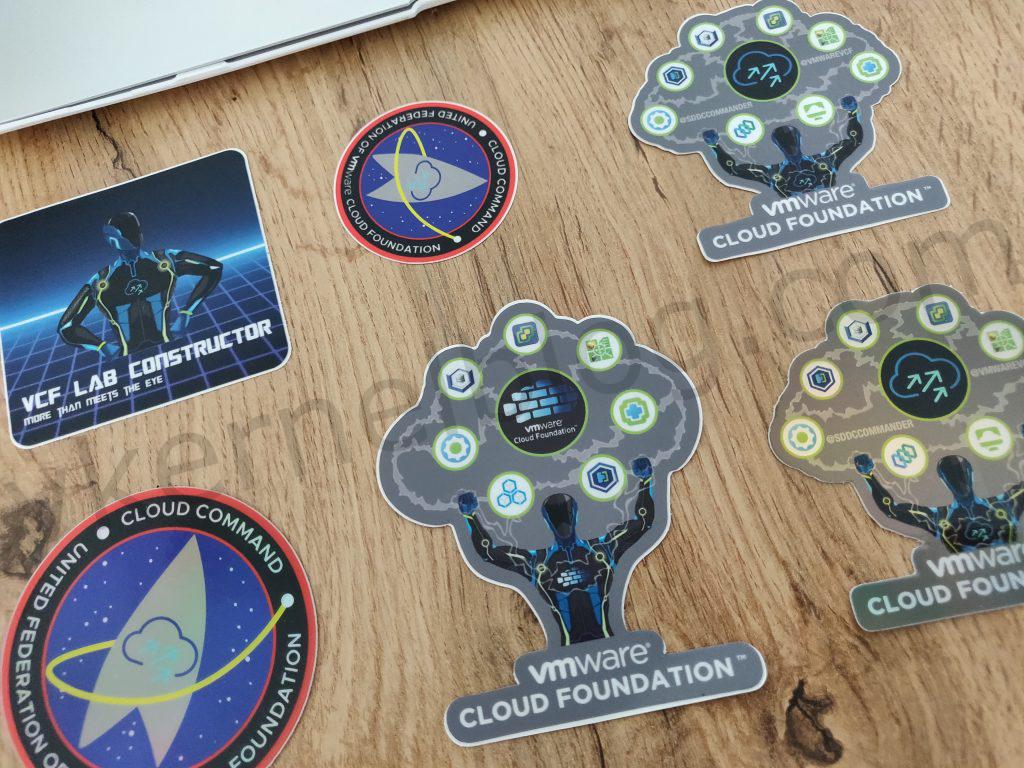
I hope that this blog post could help you with setting up your own VCF lab with VLC. I have spent a lot of time with setting up mine. Also, you can get some cool stickers from @SDDCCommander when you successfully deployed a VCF test lab with VLC.
In case you have some questions or you need some help with setting up VCF with VLC, do not hesitate to reach out to me.

