VMware did a great job with simplifying the upgrade proces of all the NSX-T components. Today I will demonstrate how to perform an upgrade of a NSX-T environment from NSX-T 3.1.0 to NSX-T 3.1.1.
VMware docs: Upgrading NSX-T Data Center
Upgrade NSX-T Data Center
Prerequisites
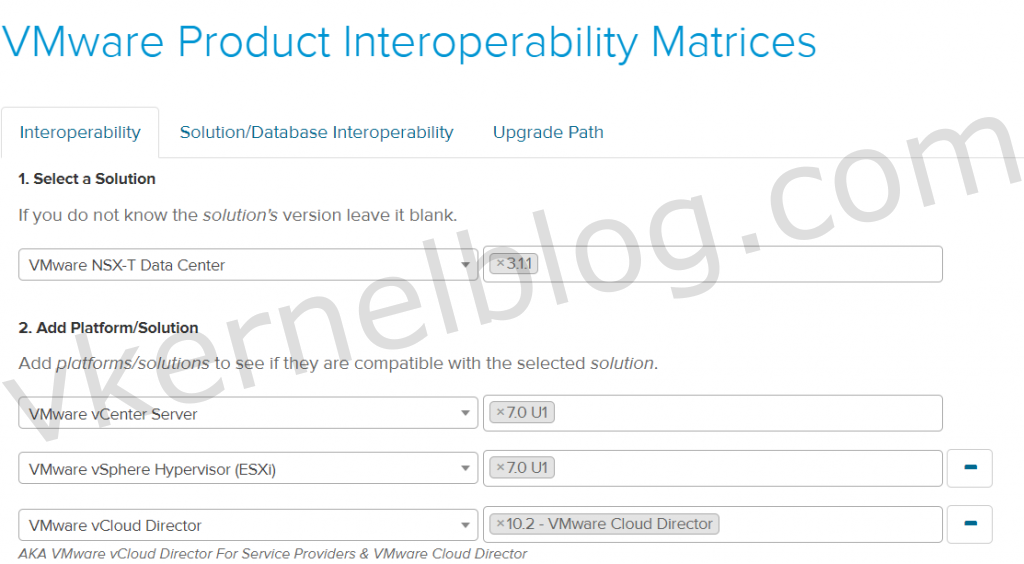
- Check the VMware product interoperability matrices: link
- Download the NSX-T upgrade .mub files: link
VMware Product Interoperability Matrix
In my lab, I have the following VMware products in place, that are integrated with each other:
- NSX-T Data Center version: 3.1.0
- vCenter version: 7.0 U1
- VMware ESXI version: 7.0 U1
- VMware Cloud Director version: 10.2
I need to verify the VMware product interoperability between the NSX-T Data Center version 3.1.1 and all the other products mentioned earlier.
I have selected 3.1.1 version of NSX-T Data Center, and all other solutions will have the current version selected.
The interoperability between these products with the new version of NSX-T is compatible.
There is only one warning about some features in VMware Cloud Director. We are good to go to start with the upgrade.
Find the Orchestrator node (only required in a clustered NSX-T manager setup)
- Open a SSH session to a NSX-T manager and check the install-upgrade service. (in my lab, I only have a single NSX-T manager node.)
get service install-upgrade
The orchestrator node is enabled on node 192.168.11.11
- Open a web browser and browse to the NSX-T manager web GUI. Do not use the VIP address but instead the NSX-T manager node IP address that has the install-upgrade enabled. Also, use local credentials to login on the web GUI. Example: https://nsx-manager-ip-address/login.jsp?local=true
Upload the upgrade .mub file
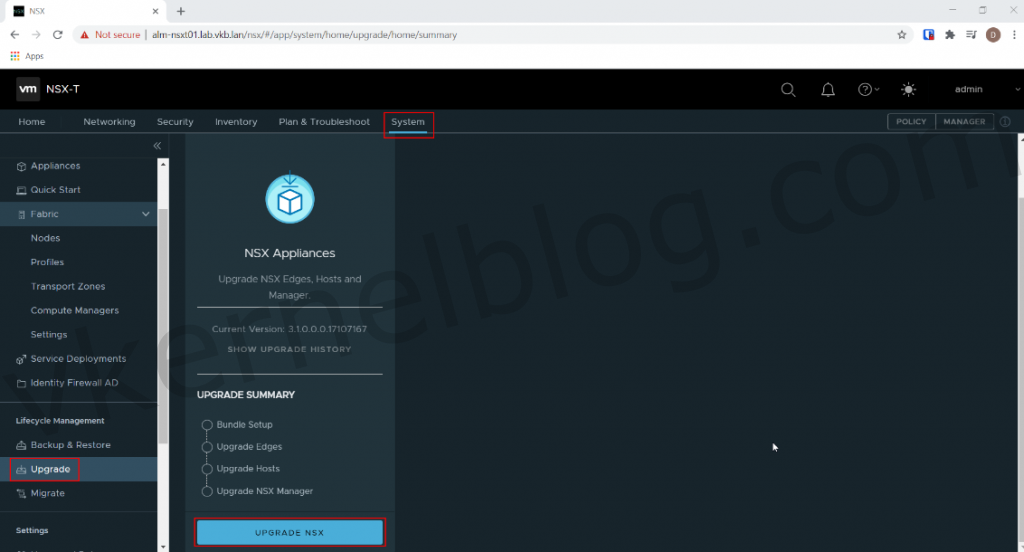
- Once logged in to the web GUI of NSX-T, go to System --> Upgrade --> Upgrade NSX.
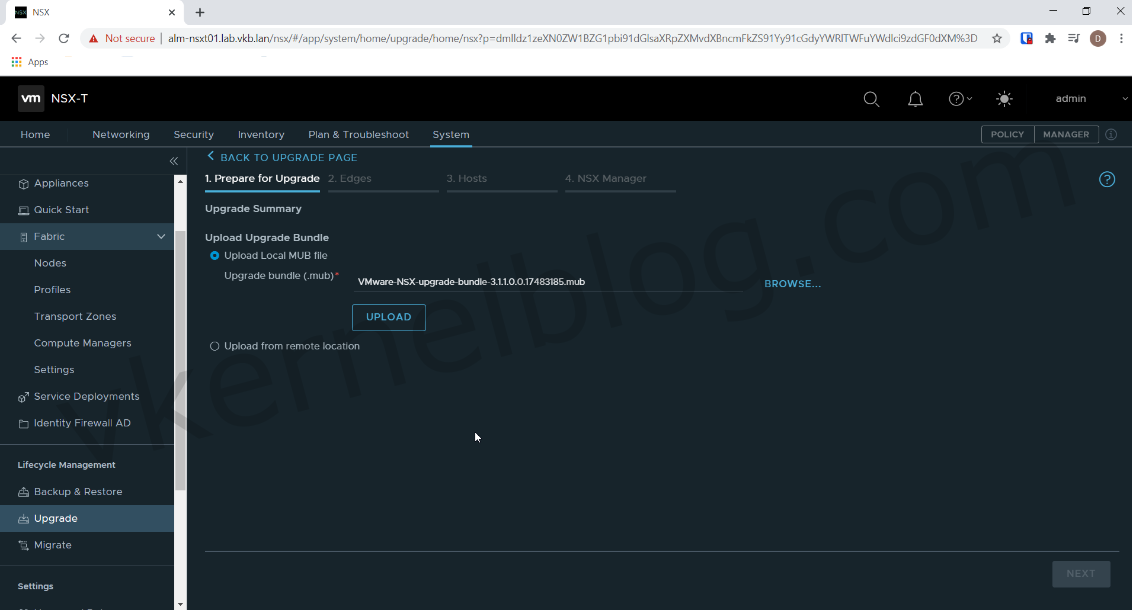
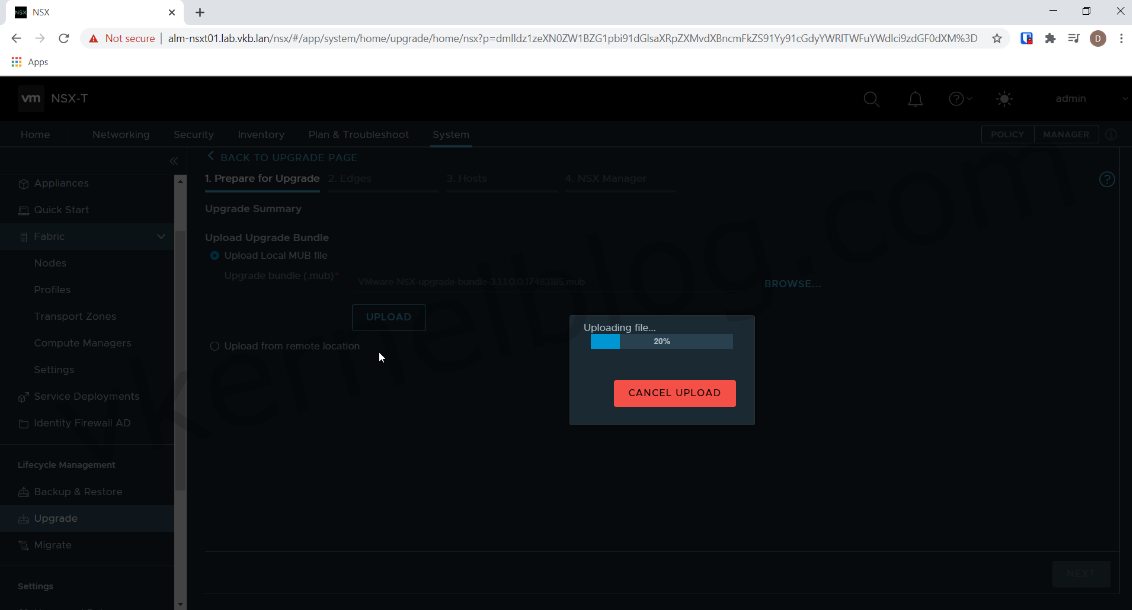
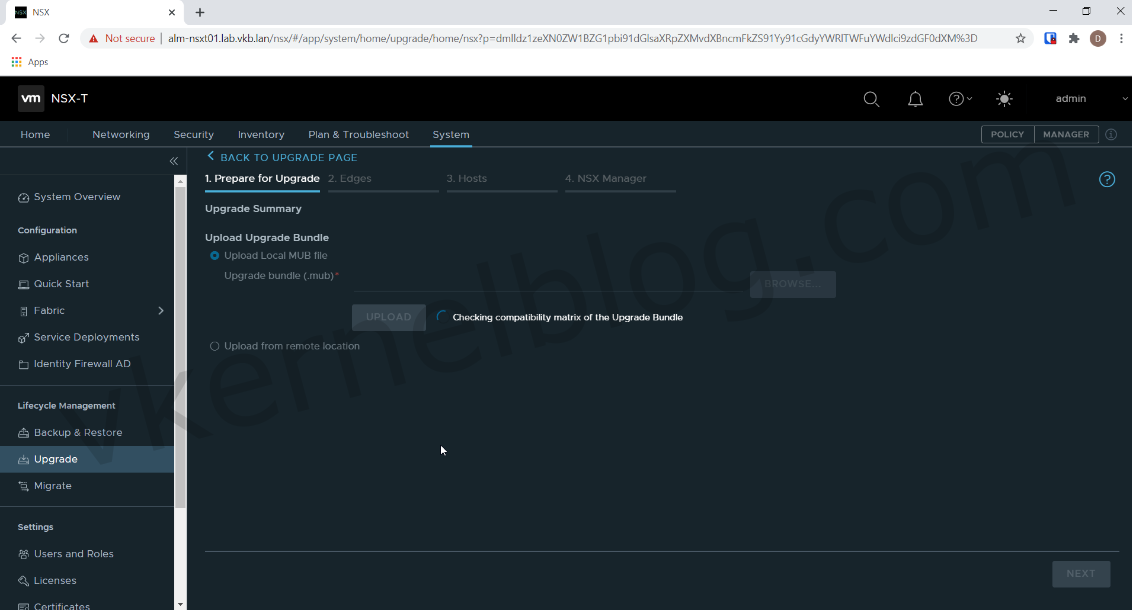
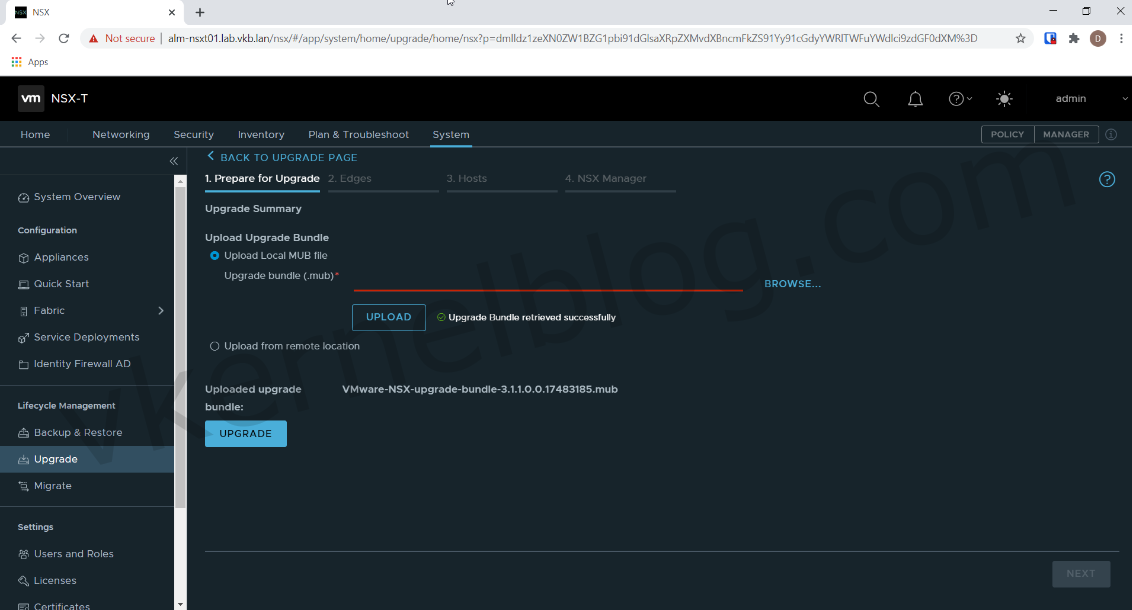
- Click on Browse, select the NSX-T Data Center 3.1.1 upgrade .mub file and click on Upload to start the upload of the .mub file.
The upgrade process has been started.
The compatibility matrix of the upgrade bundle will also be verified afterwards.
- We are now ready to perform the upgrade. Click on the Upgrade button to start the upgrade process.
- Accept the EULA and click on Continue.
- Click on Yes, Continue to proceed.
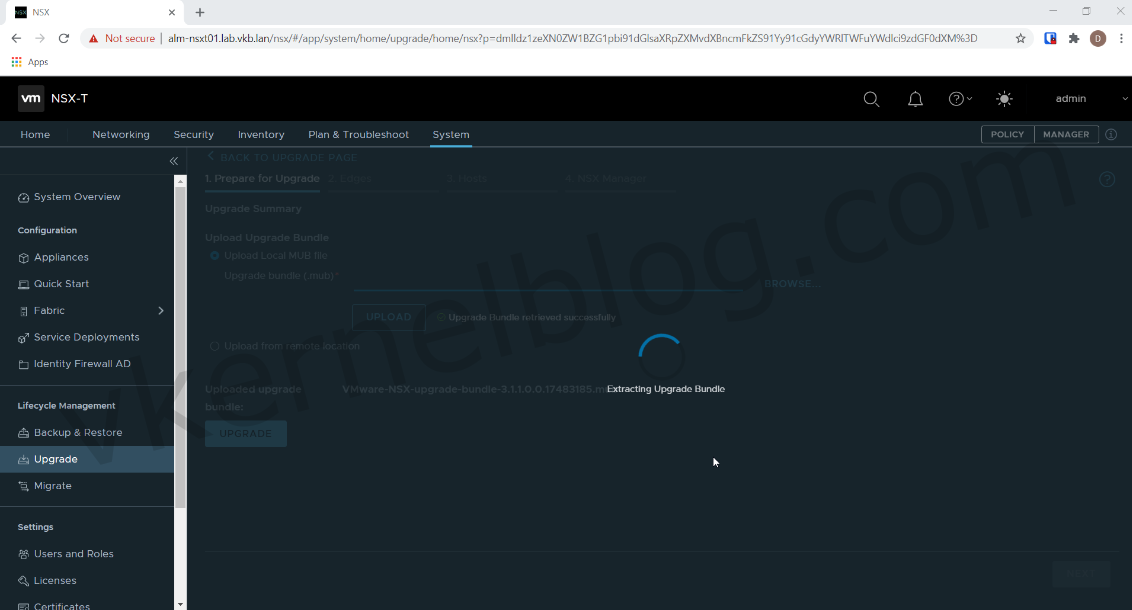
The upgrade bundle will be extracted.
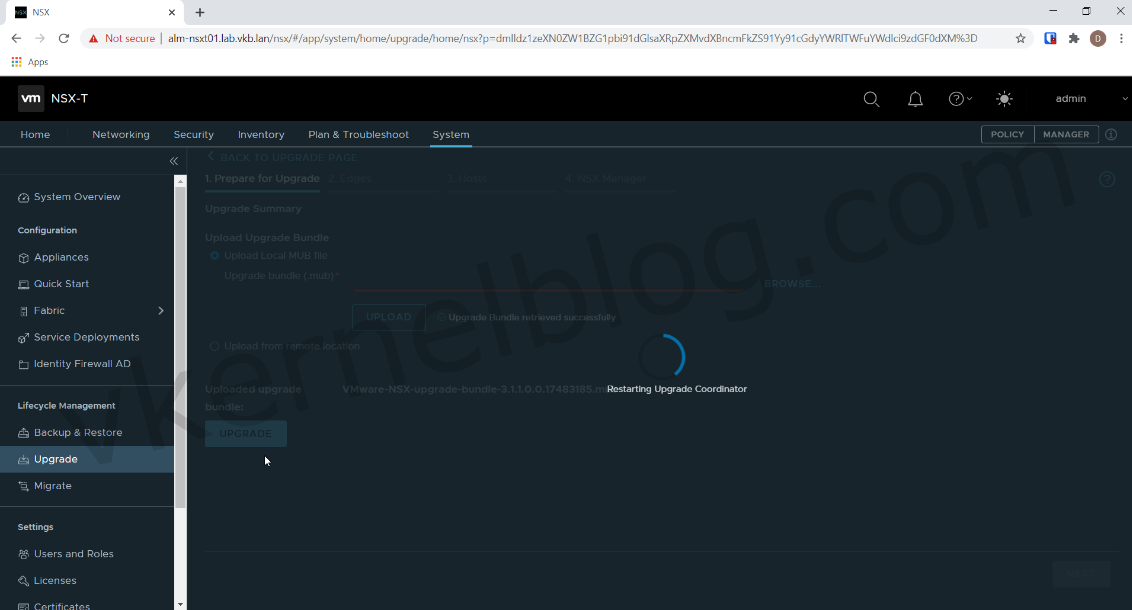
After extracting the upgrade bundle, the Upgrade Coordinator will be restarted.
Run Pre-Check
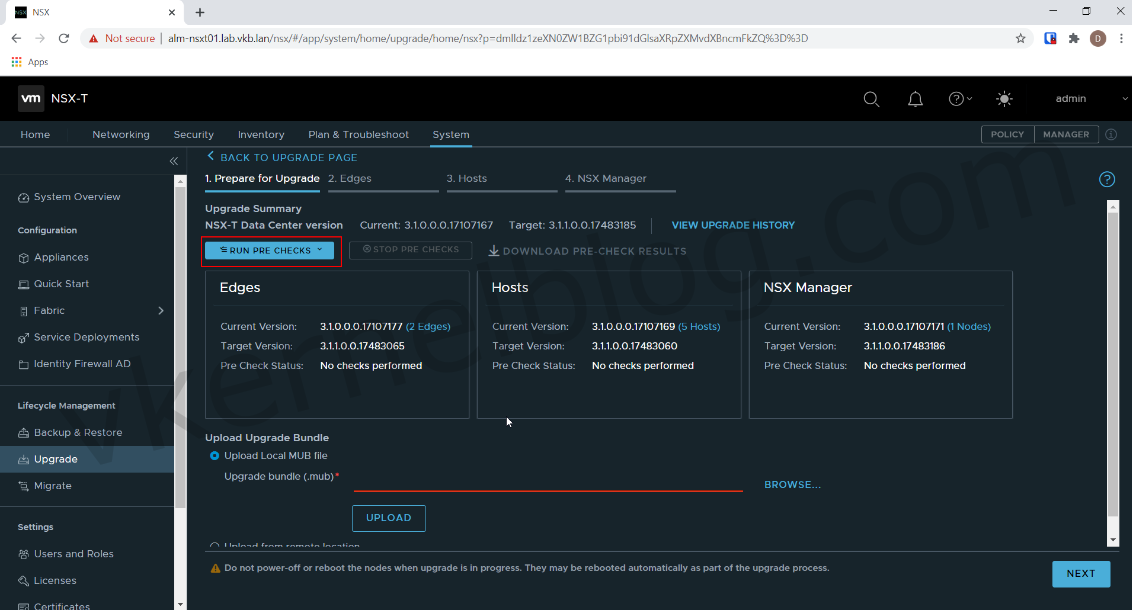
- Click on Run Pre-Check --> all Pre-checks to start the precheck of the Edges, Hosts and NSX Manager.
- Click on Run Pre Checks to continue.
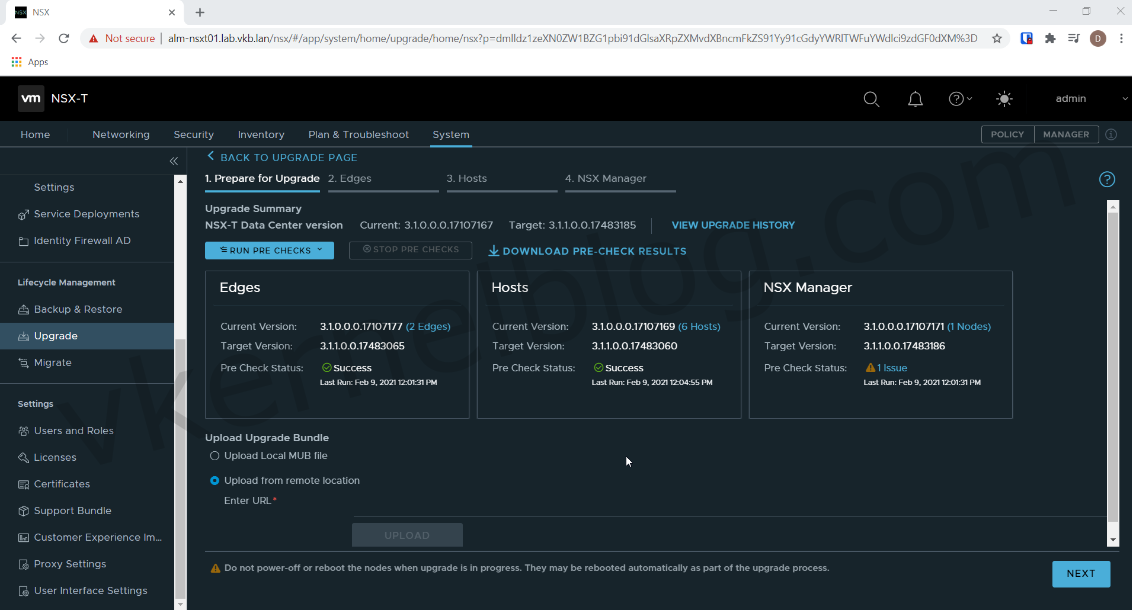
The Edges and Hosts passed the Pre Check. The NSX Manager has a warning about not having taking a backup in 2 days. This is just my home lab, so I don't care about backups.
- Click on Next to proceed
Upgrade Edge clusters
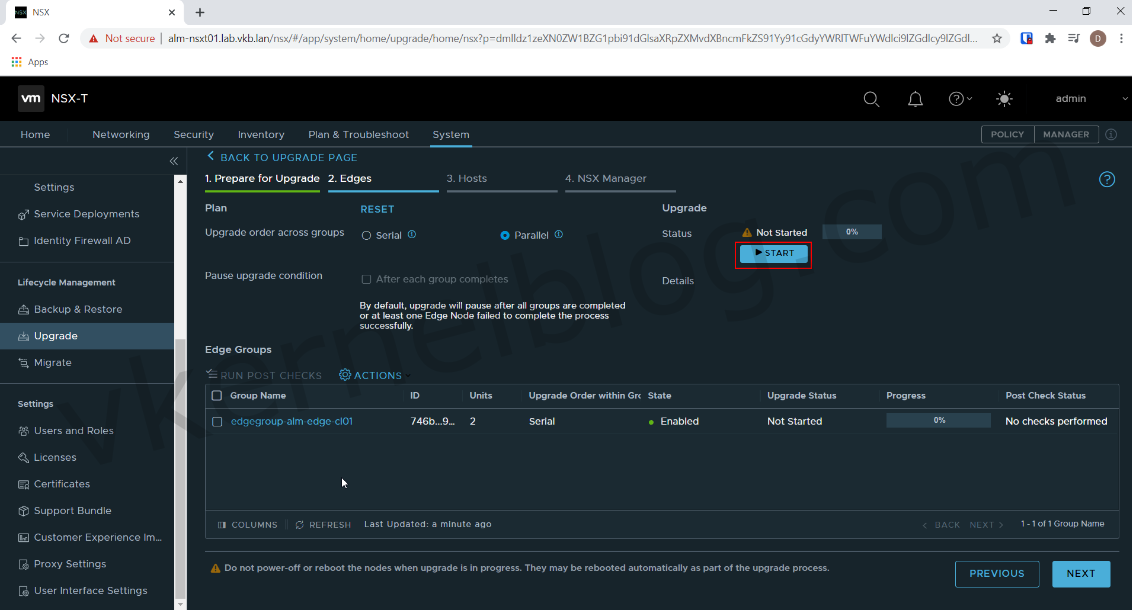
We are now ready to start with the upgrade of the Edge clusters.
There are two options as for upgrading orders of the Edge clusters:
Serial: Edge Clusters are upgraded in a sequence. The next edge cluster is picked up only after all the edgesin the current cluster are upgraded.
Parallel: Multiple edge clusters are upgraded simultaneously. However, edges within the cluster are upgrade serially.
I will leave this setting as default, because I only have 1 Edge cluster in my lab.
- Click on Start to begin the upgrade of the Edges.
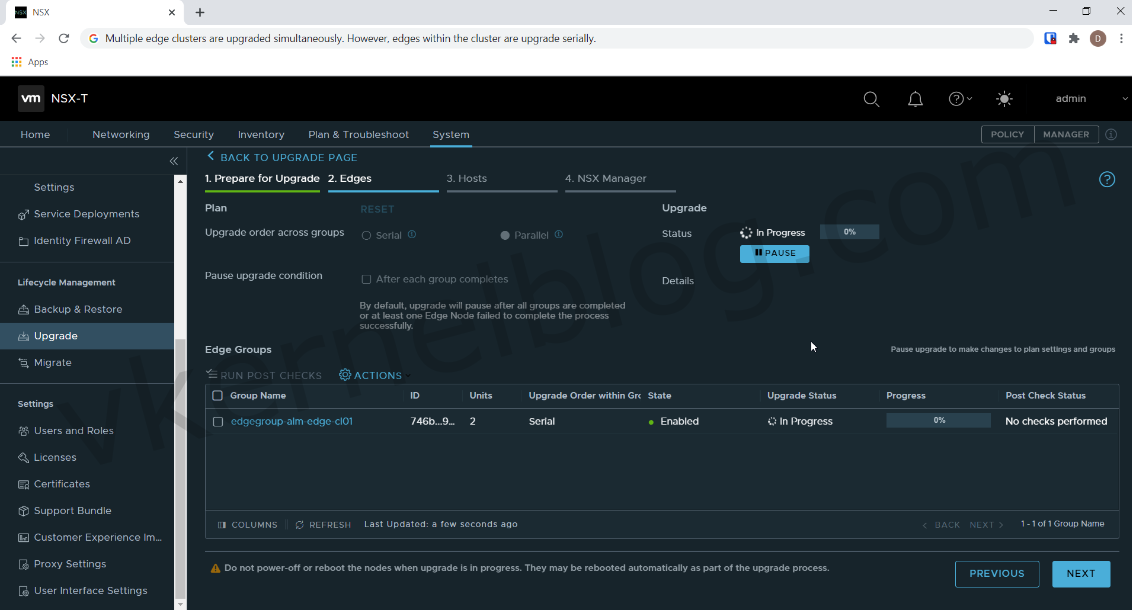
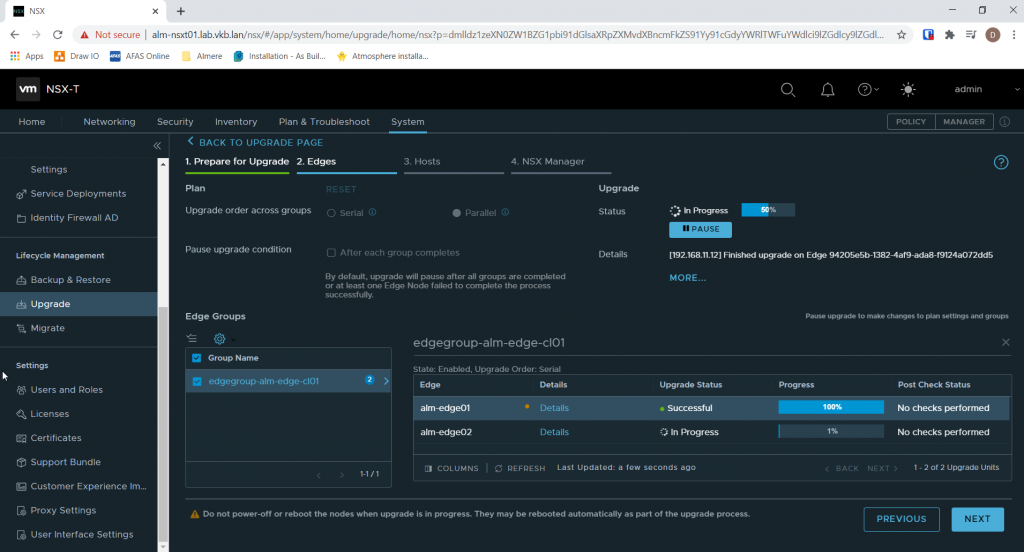
We now have wait until the Edges are upgraded successfully.
You can click on the Edge cluster to see the individual Edge nodes and their state. As you can see, the first Edge node was upgraded successfully.
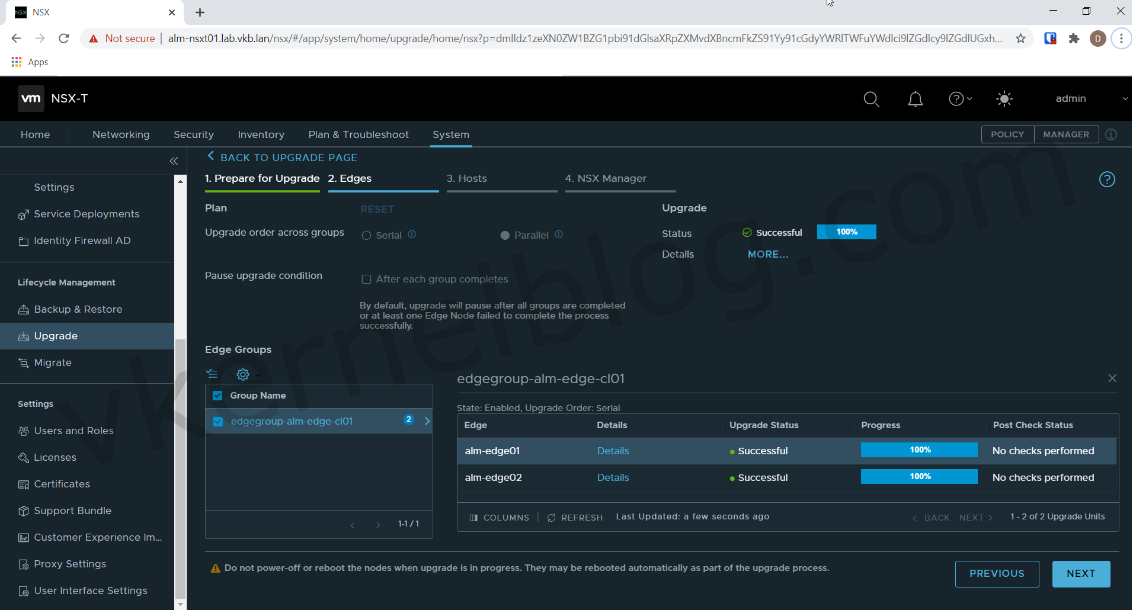
Both Edge nodes are upgraded successfully.
13. Click on Next to proceed.
Upgrade ESXI hosts
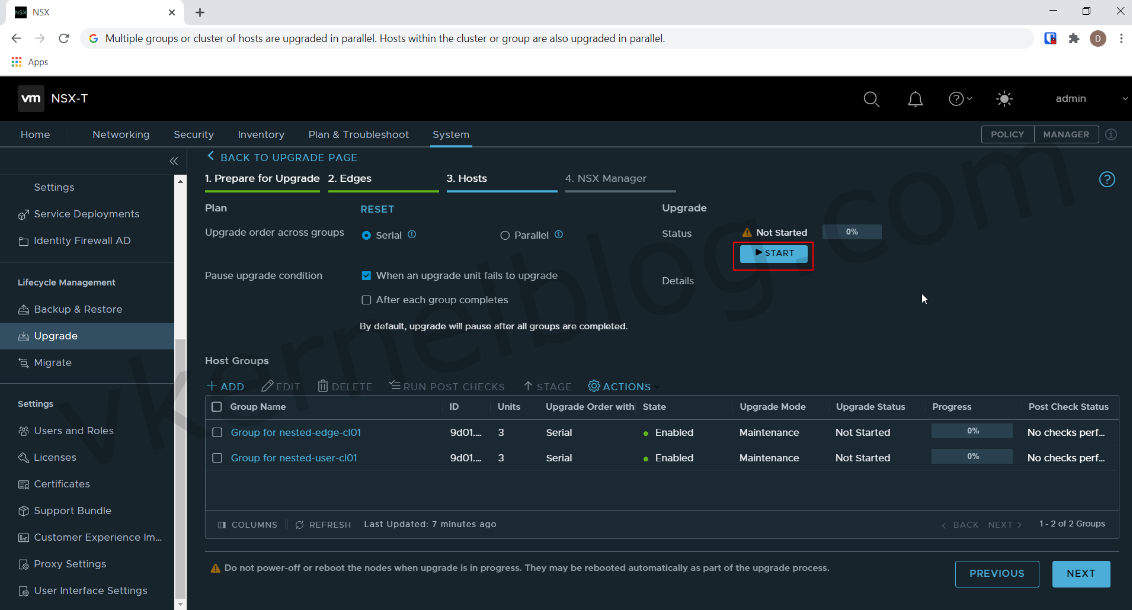
We are now ready to start with the upgrade of the ESXI hosts
There are two options as for upgrading orders of the ESXI hosts:
Serial: All hosts in a group or cluster are upgraded before moving to the next group or cluster.
Parallel: Multiple groups or cluster of hosts are upgraded in parallel. Hosts within the cluster or group are also upgraded in parallel.
- Click on Start to begin the upgrade of the ESXI hosts.
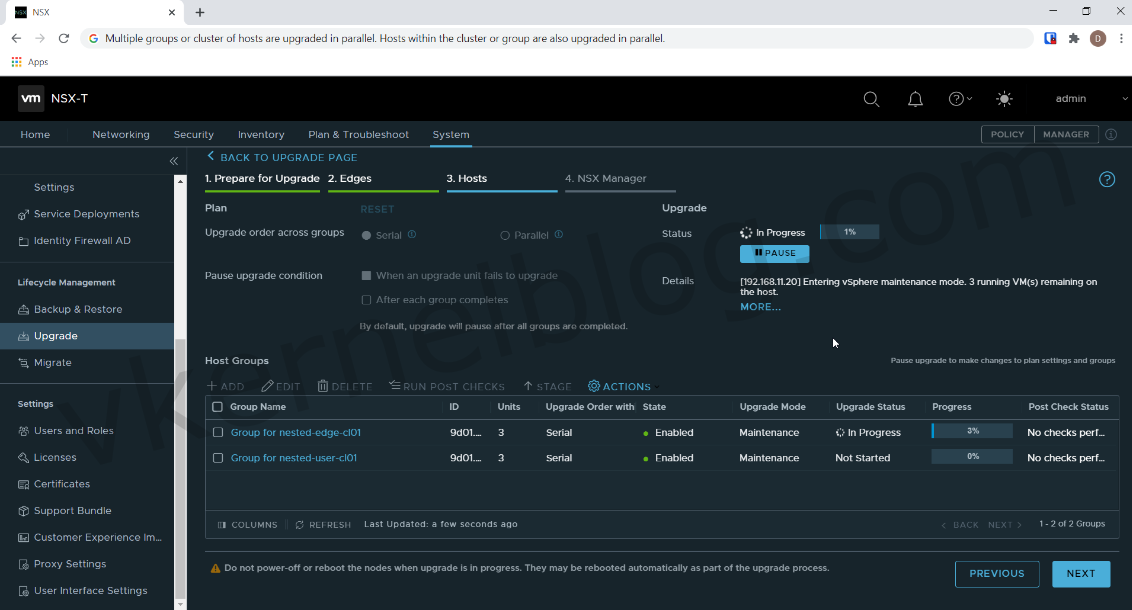
Wait until all ESXI hosts from all the clusters are upgraded successfully.
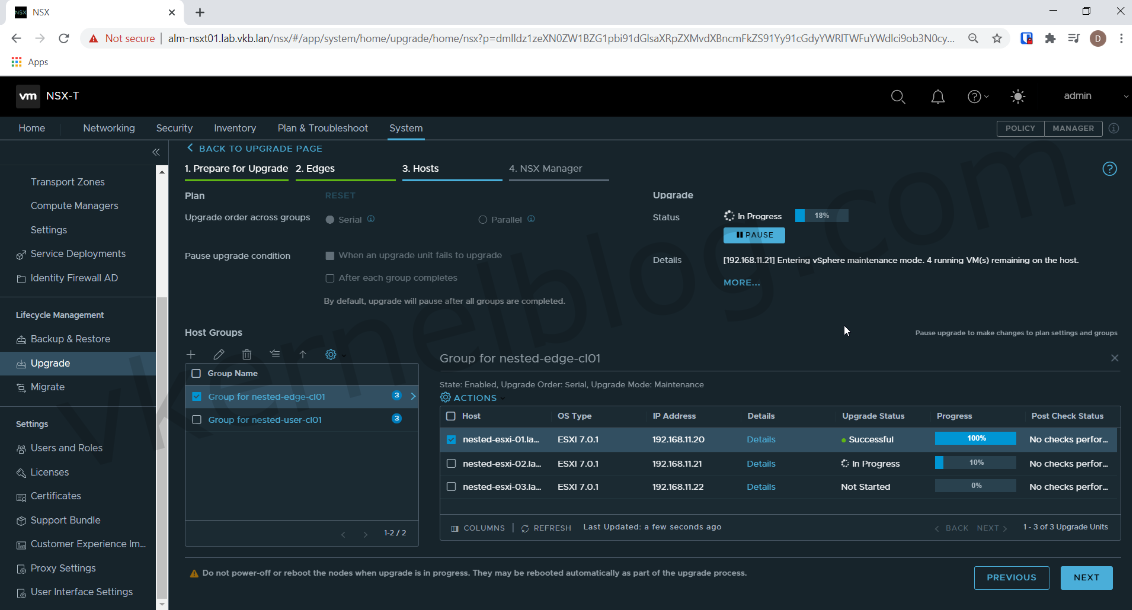
You can click on an ESXI cluster to see the individual ESXI hosts and their state. As you can see, the first ESXI host was upgraded successfully.
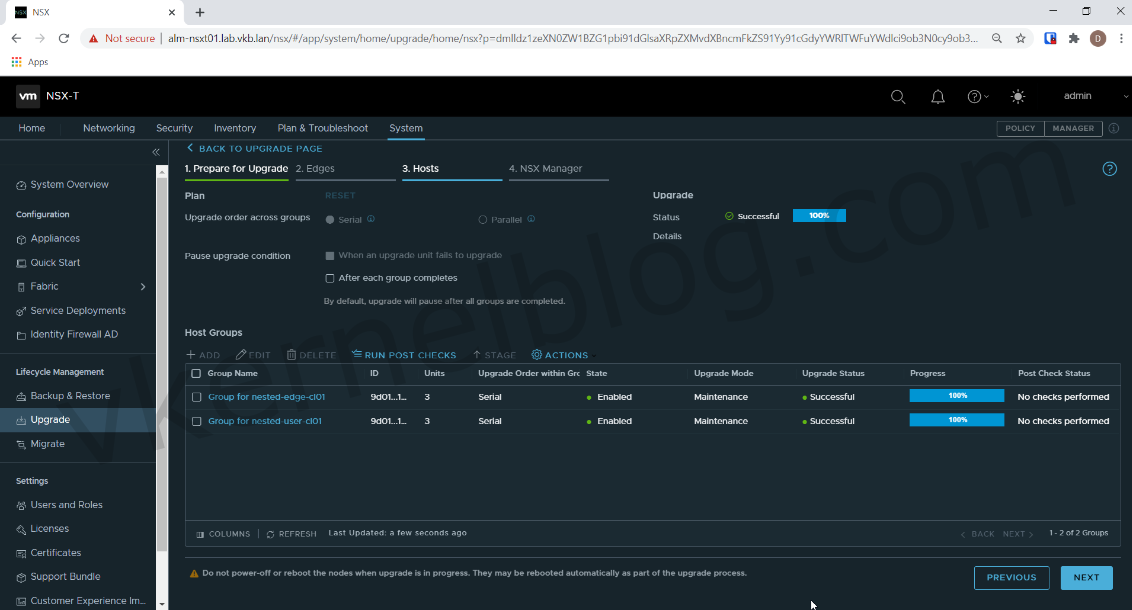
Both ESXI clusters are upgraded successfully.
15. Click on Next to proceed.
Upgrade the NSX Managers
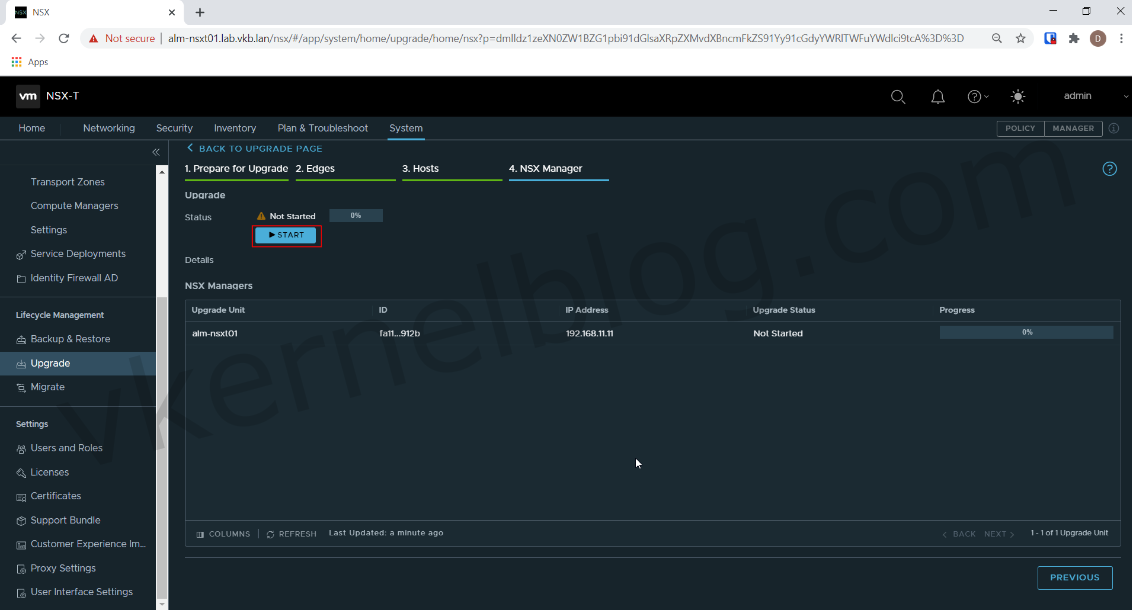
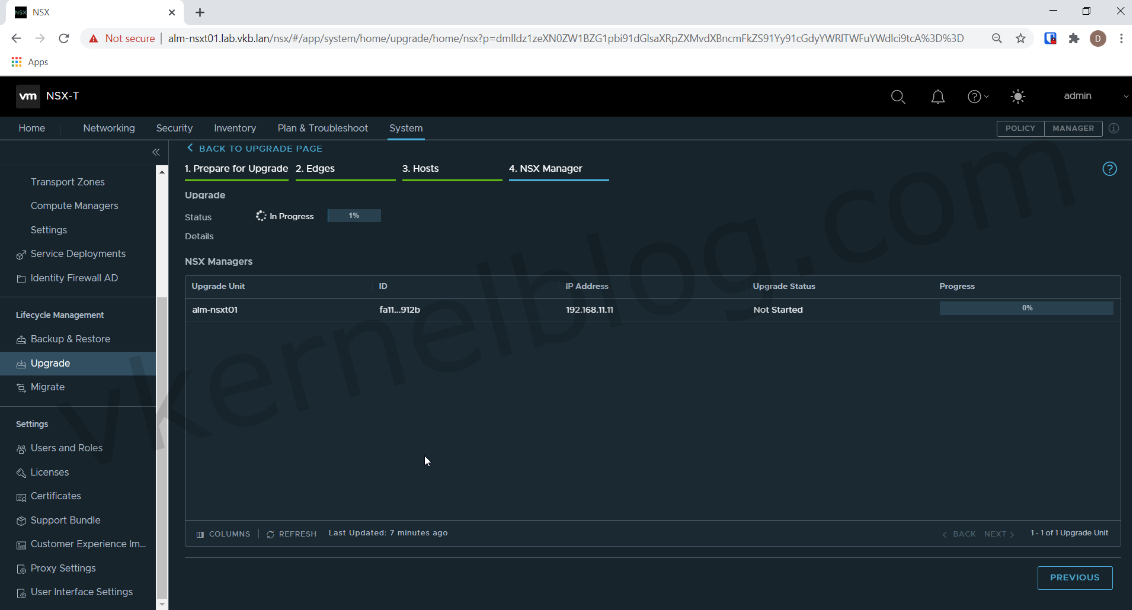
The last components to upgrade are the NSX Managers. In my lab, I only have 1 NSX manager. So let's proceed with upgrading the NSX manager.
- Click on Start to upgrade the NSX Managers
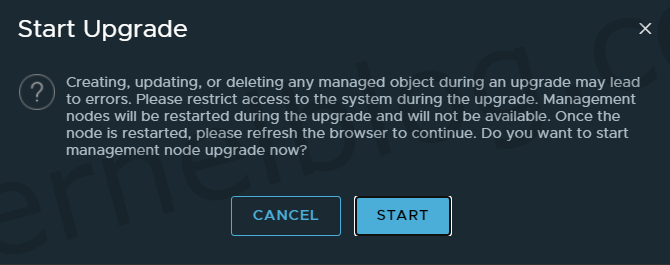
Note: Creating, updating, or deleting any managed object during an upgrade may lead to errors.
- Click on Start to proceed.
We now have to wait until the NSX Managers are upgraded.
At some point, the NSX-T manager will restart. Please be patient and reload the browser after a few minutes.
The upgrade of the NSX-T manager has been completed.
18. Click on Next --> Next --> Next --> Done to finish.

