I needed to upgrade Cloud Director to 10.2.1 in my home lab. In this blog post, I will show you how to perform a Cloud Director upgrade. My Cloud Director instance only contains a single Cloud Director cell, but I will explain the upgrade process for a Cloud Director with multiple cells/appliances. So that you can use it for a Cloud Director HA setup as well.
VMware docs: Upgrading and Migrating the VMware Cloud Director Appliance
Prerequisites
- Cloud Director 10.2.1 upgrade bundle - link
- Set failover method to manual (Only when using HA setup in Cloud Director)
- Make a snapshot of the Cloud Director Cells.
Change the failover method to manual
I have already created a blog post on setting the failover method to automatic or manual. Please see my previous post.
Create snapshot of Cloud Director cells
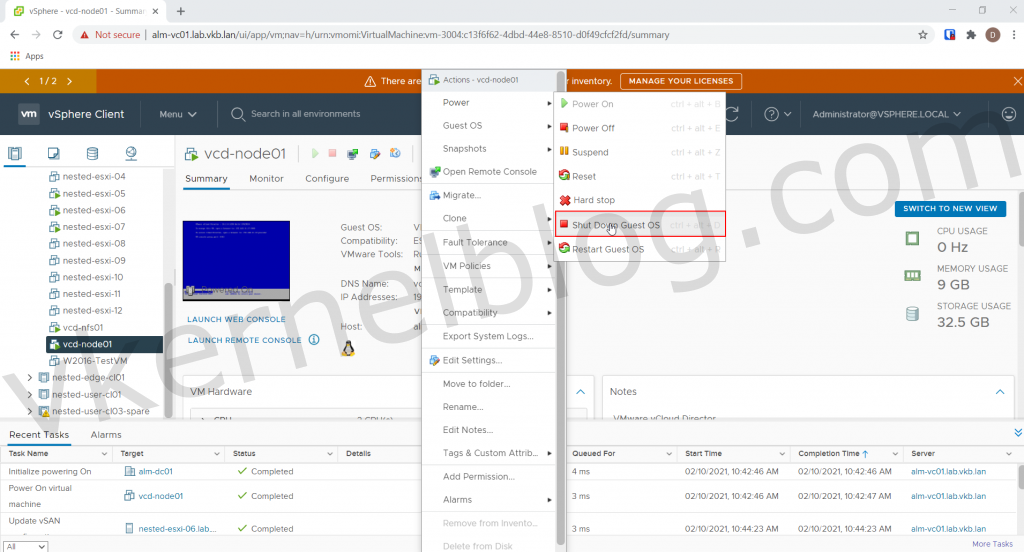
- Power off the primary Cloud Director node by Actions --> Power --> Shutdown Guest OS.
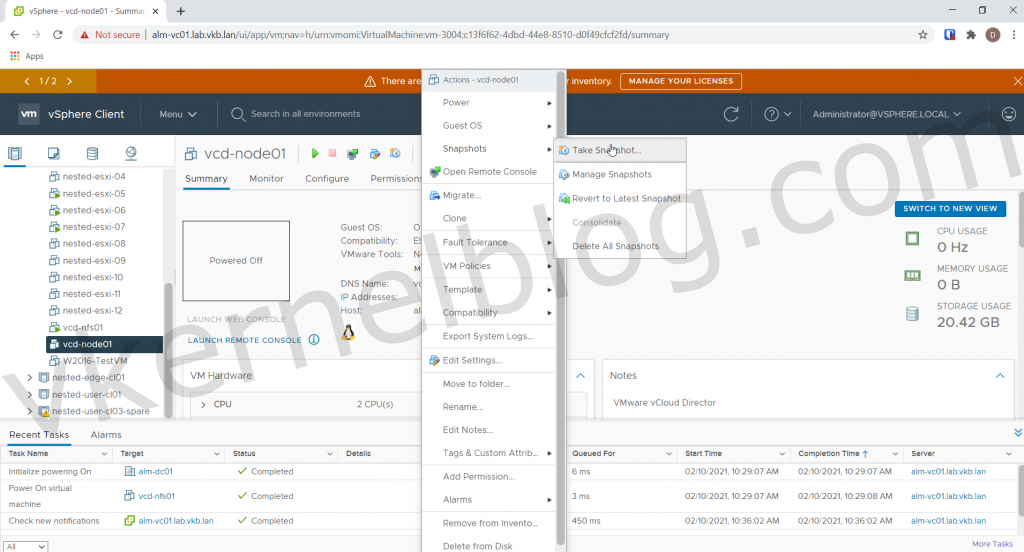
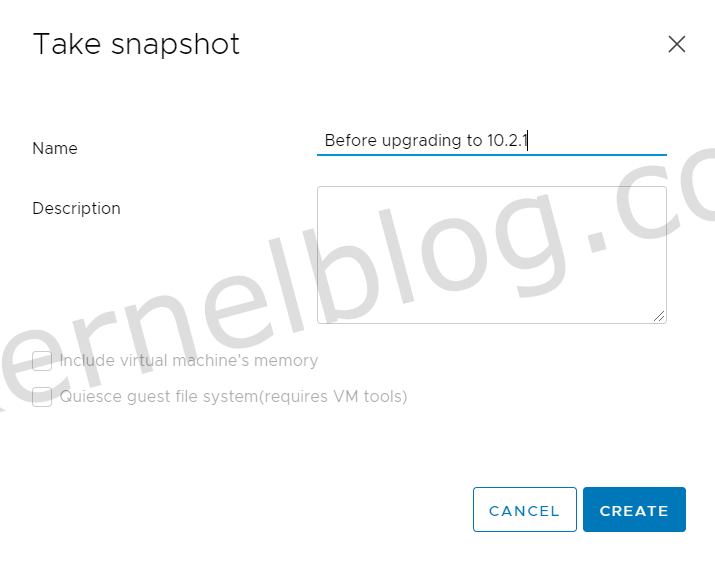
- Create a snapshot of the Cloud Director cell Actions --> Snapshot --> Take Snapshot.
- Click on Create to proceed with creating a snapshot.
-
Power on the primary Cloud Director node Actions --> Power --> Power On.
-
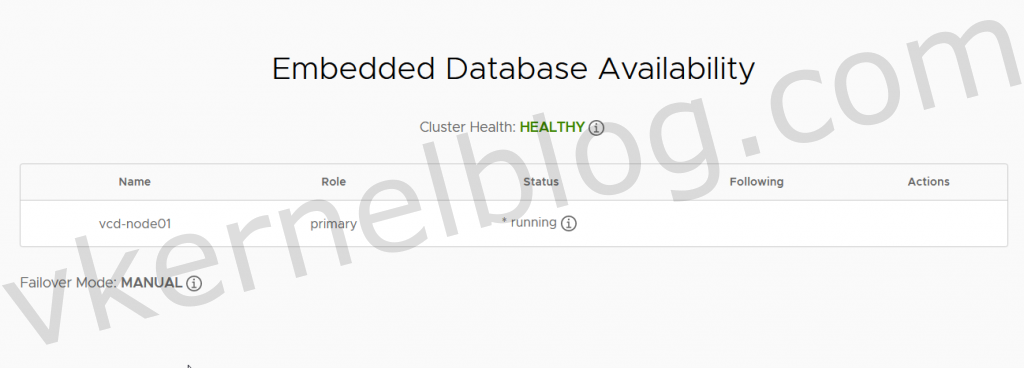
Verify the health of all nodes by checking the state at https://vCDCellIP:5480.
Note: Make a note of the primary node.
Transfer the upgrade bundle to the primary node
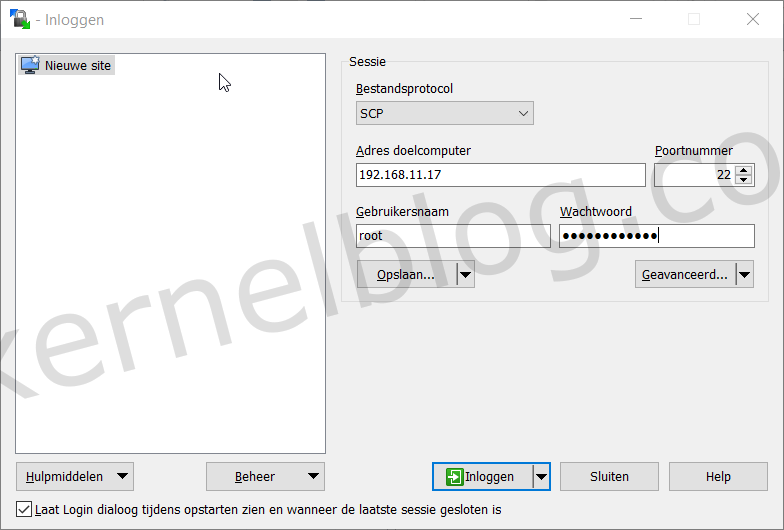
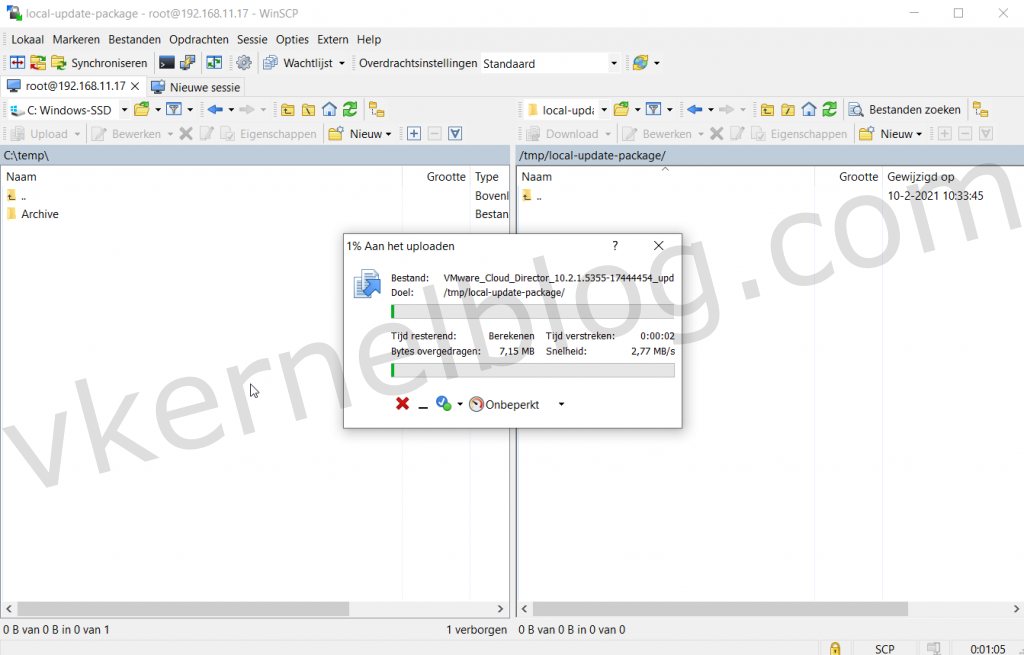
In my case, I will use WinSCP to transfer the downloaded upgrade bundle to the primary node.
- Open WinSCP and make a connection to the primary node.
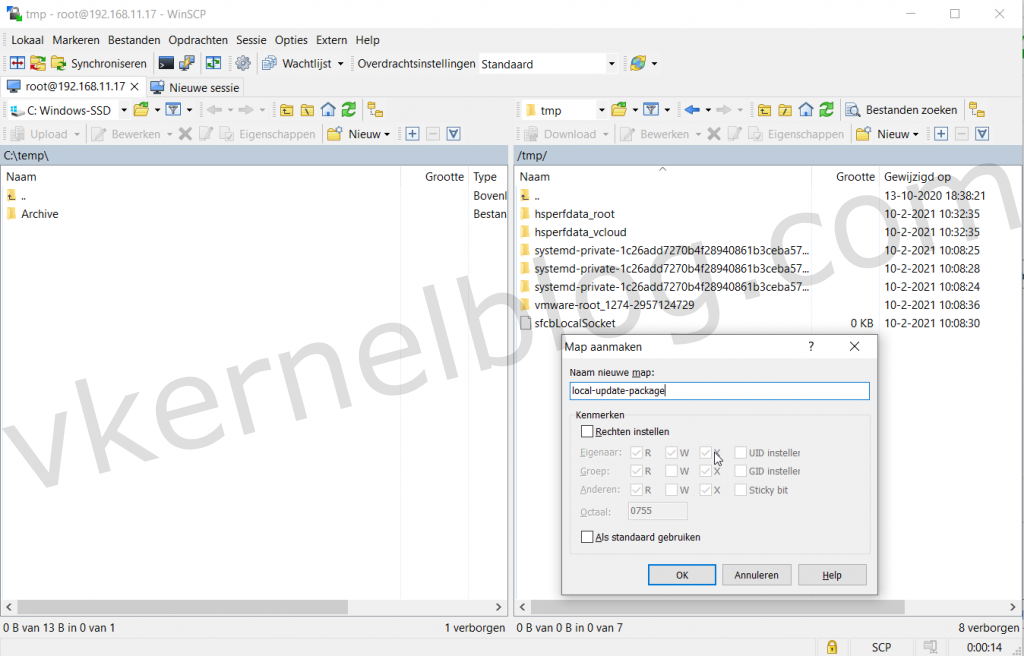
- Create a new folder in the /tmp/ directory named local-update-package
- Transfer the VMware_Cloud_Director_10.2.1.5355-17444454_update.tar.gz to the new directory /tmp/local-update-package.
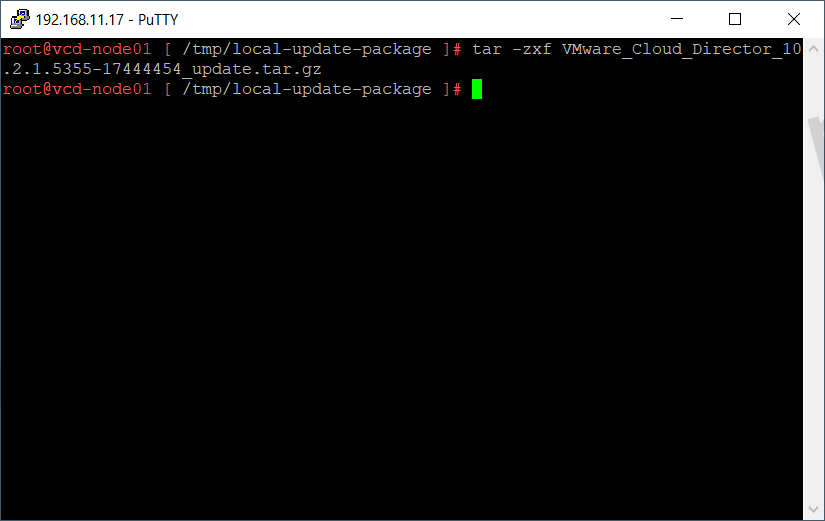
We now need to extract the VMware_Cloud_Director_10.2.1.5355-17444454_update.tar.gz file.
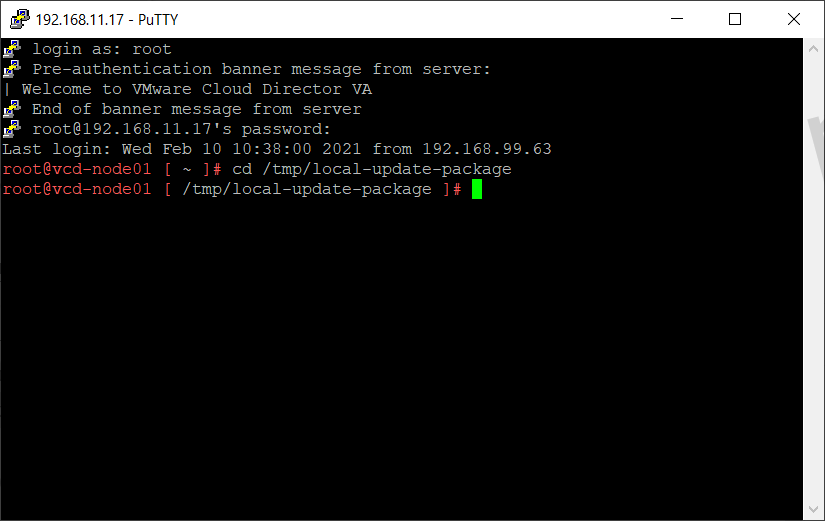
- Open a SSH session to the primary Cloud Director node and change the directory to /tmp/local-update-package.
- Extract the VMware_Cloud_Director_10.2.1.5355-17444454_update.tar.gz file.
tar -zxf VMware_Cloud_Director_v.v.v.v-nnnnnnnn_update.tar.gz
Upgrade Cloud Director Cells.
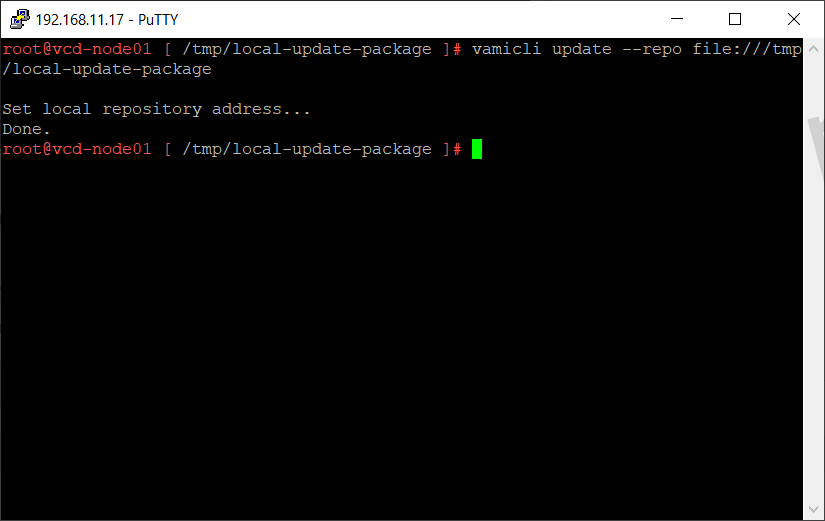
- Configure the newly created directory /tmp/local-update-package as the update repository.
vamicli update --repo file:///tmp/local-update-package
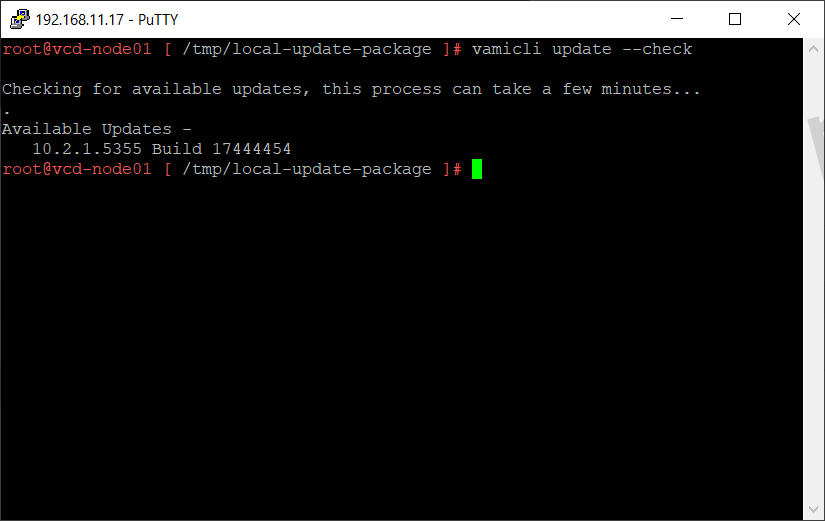
- Check for new updates from the configured update repository.
vamicli update --check
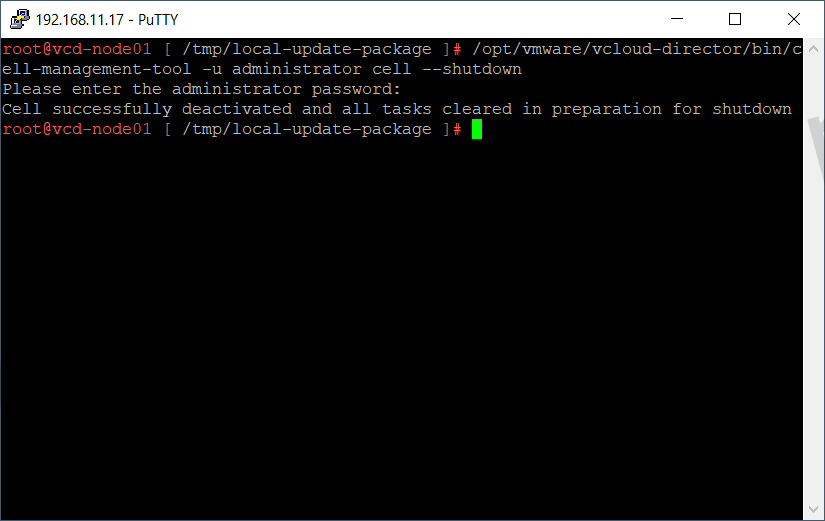
- Shutdown Cloud Director with the following command:
/opt/vmware/vcloud-director/bin/cell-management-tool -u <admin username> cell --shutdown
- Start the upgrade procedure on the primary node.
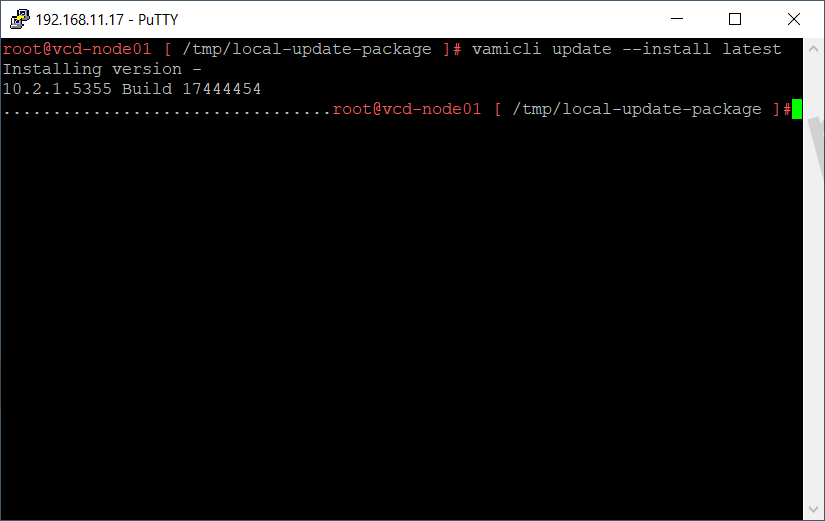
vamicli update --install latest
- Perform step 6 to step 14 on the remaining standby/application nodes.
Upgrade the Cloud Director DB
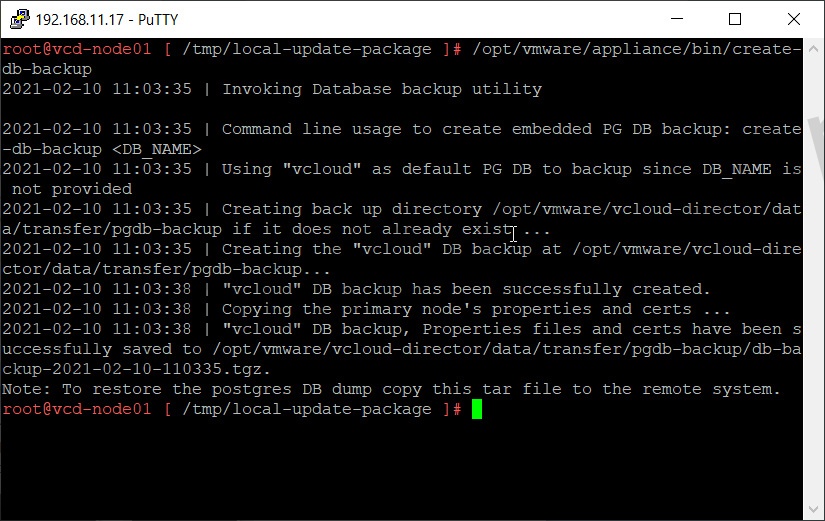
- Create a backup of the Cloud Director PostgreSQL Database from the primary node.
/opt/vmware/appliance/bin/create-db-backup
- Perform the upgrade of the Cloud Director database.
/opt/vmware/vcloud-director/bin/upgrade
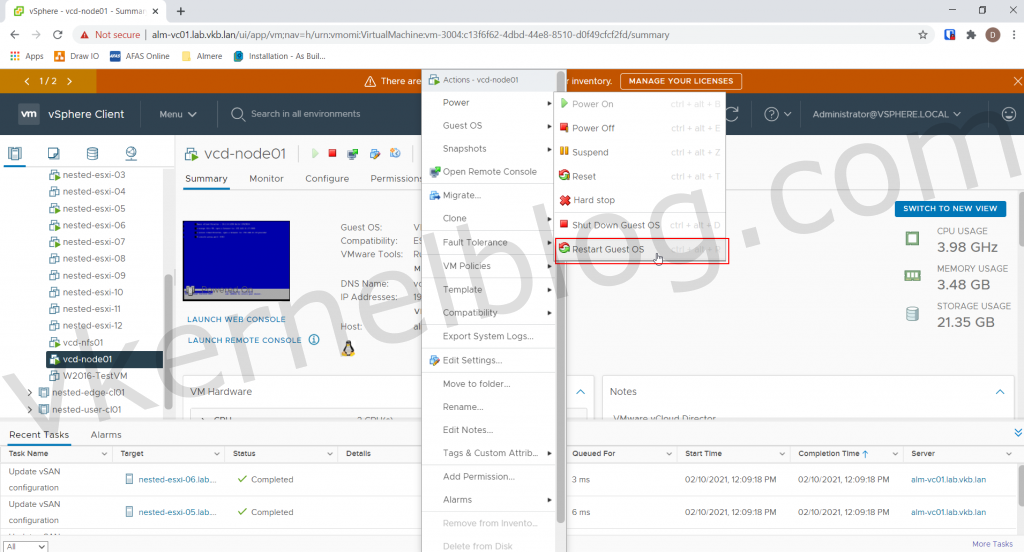
- Reboot each Cloud Director appliance by SSH or GUI.
SSH:
shutdown -r now
GUI: Actions --> Power --> Restart Guest OS
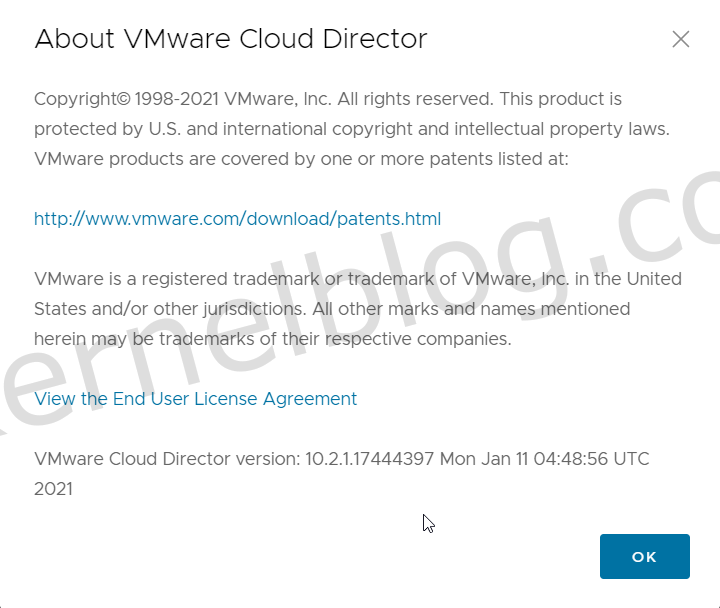
Login to the provider portal to validate the version of the Cloud Director instance.
